Milky Way photography settings
How to actually get the shot
Photographing the Milky Way looks like it should be hard, and in one sense it is: you're trying to capture something your eyes can barely see. But the actual photography comes down to a short list of settings and one good night. Get the planning right and dial in a handful of settings, and a camera will pull detail out of the sky that you simply can't see standing there in the dark.
This isn't an exhaustive manual. It's a few techniques I personally use to get good results.
Start with the night, not the camera
No settings will save a bad night. Before anything else, three things need to line up.
Clear skies. Obvious, but worth checking properly rather than glancing out the window. I use Windy and Meteoblue (remember to check out the 'Astronomy Seeing' section). Clear Outside is built specifically for astronomy and also worth a look. You'll also want to check that the wind speed is not too strong, otherwise you'll be getting soft images from the vibrations.
A dark site. Light pollution is the enemy. Check lightpollutionmap.info and aim for a Bortle 5 or darker — the lower the number, the better. A genuinely dark sky makes more difference than any lens you can buy.
The right night, with the moon out of the way. The Galactic Centre (the bright part everyone's chasing) is only above the horizon for part of the year and part of the night, and a bright moon will wash the whole thing out. For working out which nights are actually worth going out for — during a new moon, or a dark window when the moon's below the horizon — I built my own free Milky Way Calendar, which answers exactly that at a glance. Just search for your location, scroll through the dates, and look for the bright green bars.
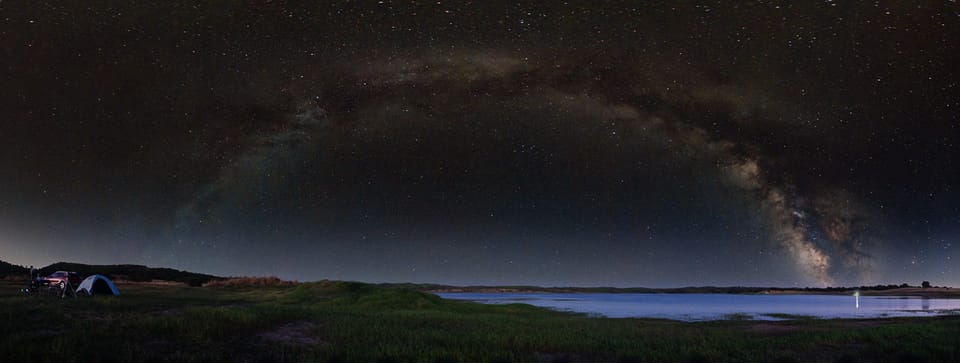
The Milky Way where you want it. Once you've settled on a night, PhotoPills is the tool for planning the shot itself. Its augmented-reality overlay shows you where the arch will sit over your scene and the exact time the core reaches the position and angle you're after — invaluable when you're scouting a location, or lining up a panorama of the whole arch.
The gear that actually matters
Don't overthink this. Almost any DSLR or mirrorless camera will do, even with the kit lens it came with. Some newer phones are surprisingly capable too, though you'll usually need a manual or "night" mode, or a third-party app that lets you control the exposure.
For the best results you want a fast wide lens — f/2.8 or wider — because it lets in more light in the same amount of time. A wide-angle lens (24mm or wider) will let you capture more of the scene and the Milky Way in one shot. A telephoto lens will capture more detail, but requires more precision in your focus and shorter shutter speeds. The other two essentials are a stable tripod and a way to fire the shutter without touching the camera: a remote release, the camera's companion app, or even just the self-timer.
A dedicated star tracker or mount would let you take even longer exposures, but I'll cover that in a separate post.
The camera settings that matter
This is the part people search for, so here's the working setup. Treat the numbers as starting points, not gospel. You'll need to check and adjust on the night.
- Shoot in RAW. It gives you far more data to recover shadows and fix colour later. Non-negotiable for night work.
- Manual focus. Autofocus has nothing to grab onto in the dark. Focus on a distant light, like a building or a street lamp, to get roughly there, then point at the sky and fine-tune until the stars are pin-sharp points (use the live view zoomed in, if your camera has that functionality). Once it's set, a piece of sticky tape on the focus ring stops you knocking it out by accident. My Olympus E-M1 Mark III camera has a Starry Sky AF mode that nails this automatically, which is the one bit of modern wizardry I'll happily take.
- Shutter speed: as long as you can get away with. Too long and the stars trail as the earth turns. The NPF rule gives you the accurate limit for your sensor and lens — PhotoPills works it out for you in its Spot Stars pill. The older 500 rule is a quick estimate: 500 ÷ (crop factor × focal length). Either way you're usually somewhere around 10–20 seconds.
- Aperture. As wide as possible — f/3.5, f/2.8, f/1.8, or even f/1.4 if you have a lens capable of it (lucky you!).
- ISO 1600 to 12800. Yes, it's high, and yes, there'll be noise. That's just part of it — there are ways to clean it up later, and an underexposed, "clean" frame is worse than a bright, noisy one. Check your histogram to find the right value after you've set your shutter speed. The main 'hump' should be around the left 1/4 to about the mid-point of the histogram. If it's slammed up against the left, it's underexposed — increase the ISO.
- White balance around 4000–5000K, or just leave it on Auto or Daylight. In RAW you can change it freely afterwards; this is only a sensible starting point.
- Turn off image stabilisation (it can introduce blur when the camera's locked down on a tripod) and turn off long-exposure noise reduction (it doubles your shooting time for every frame, which you don't want when you're stacking).
In the field
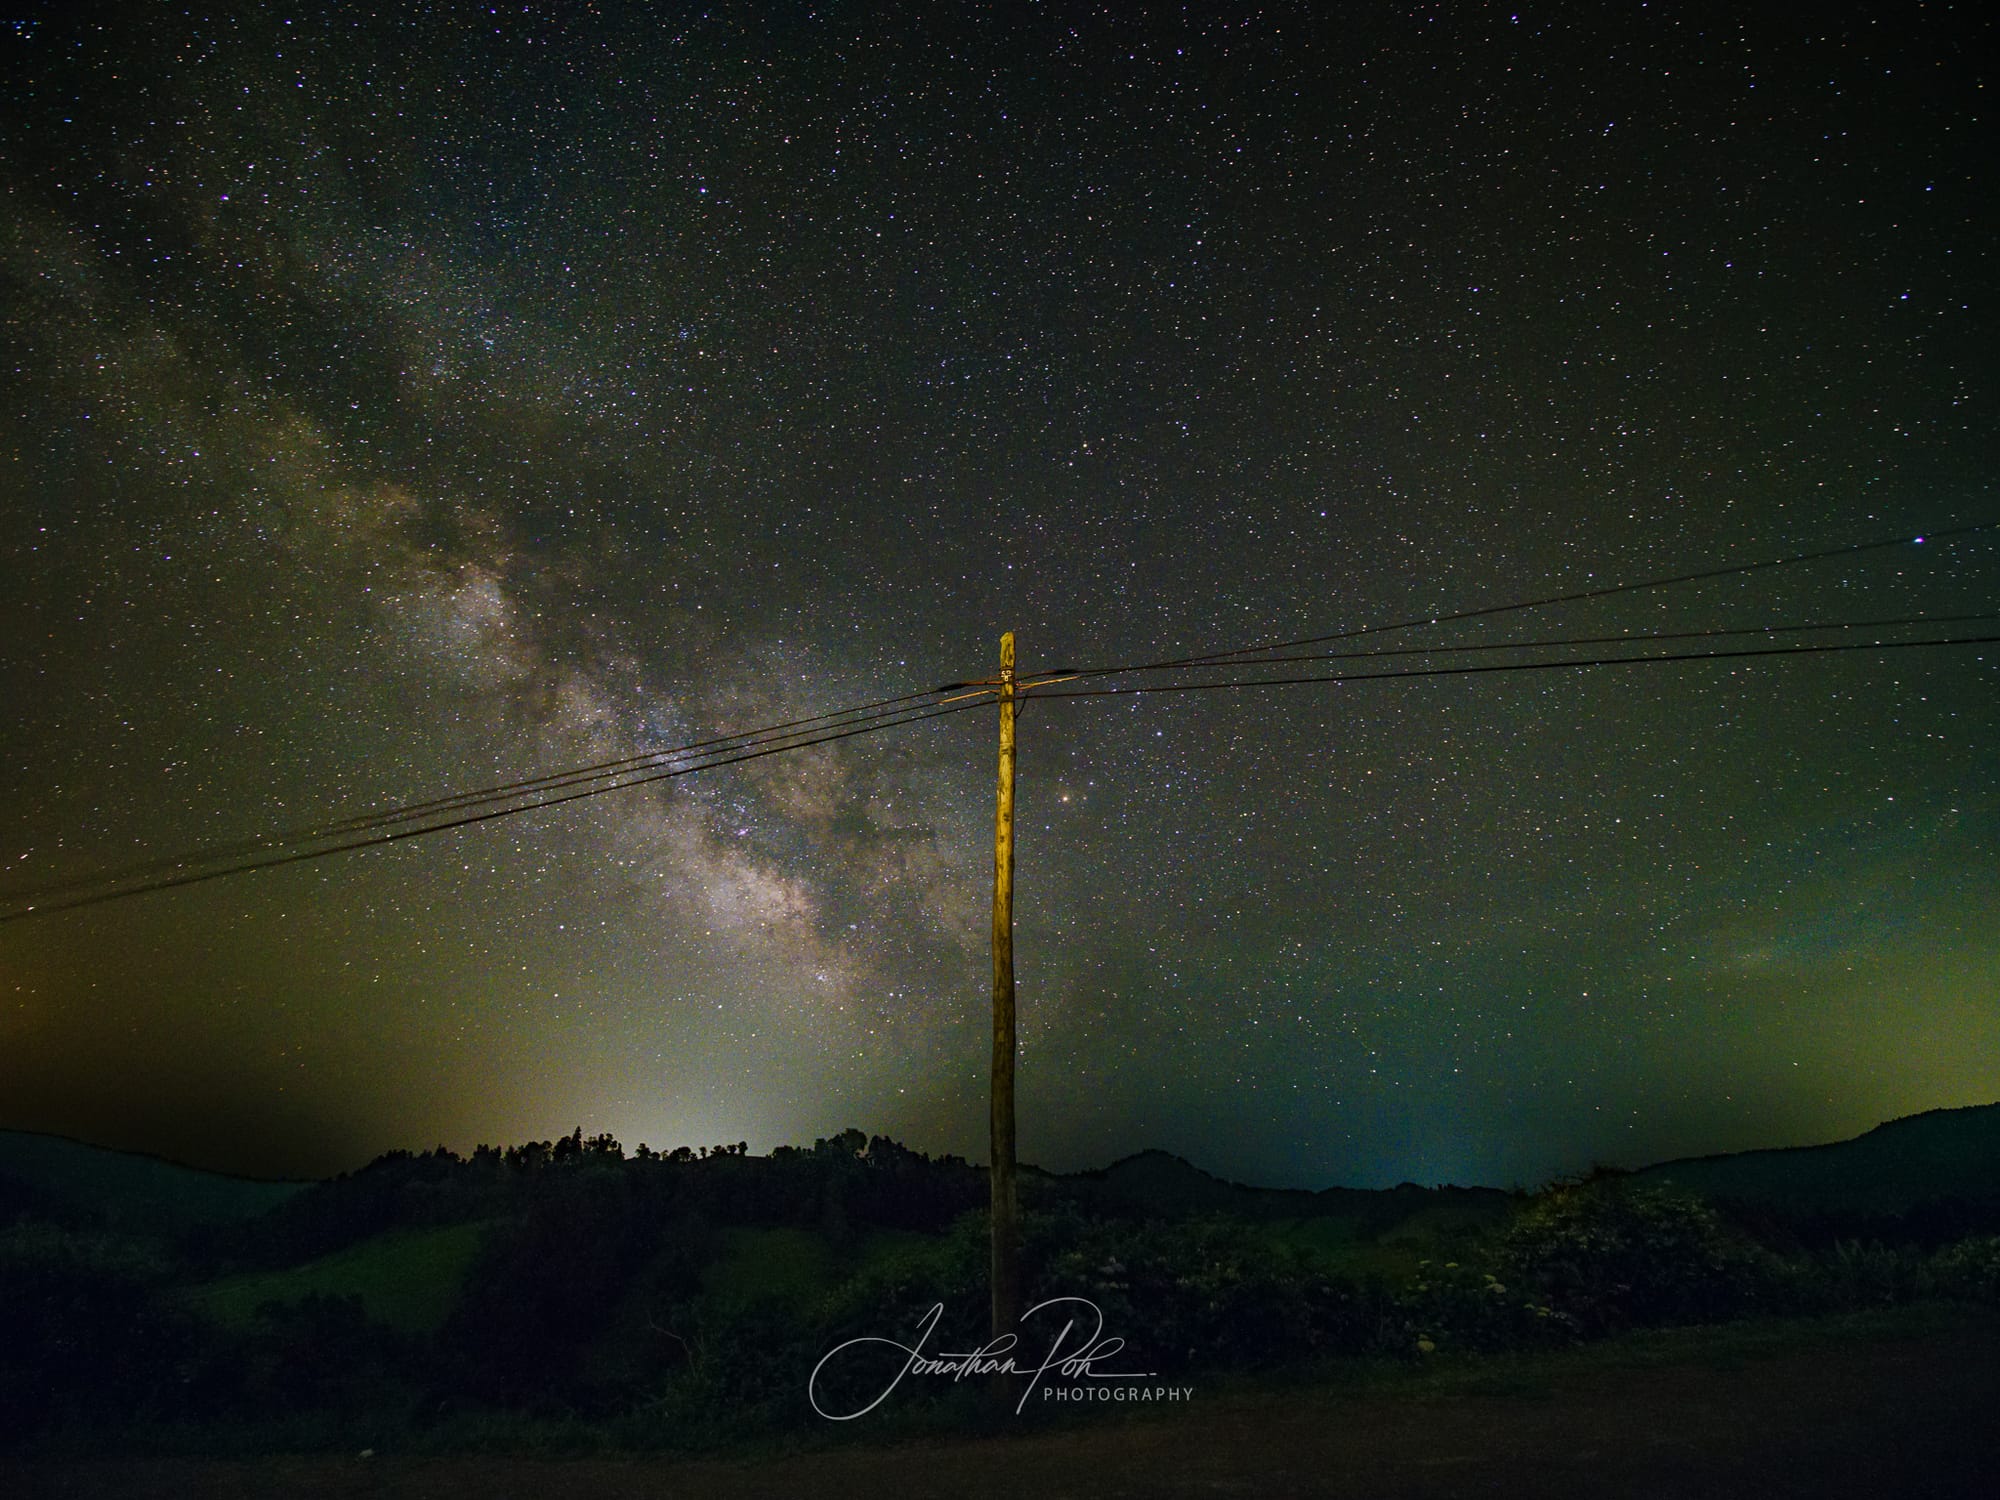
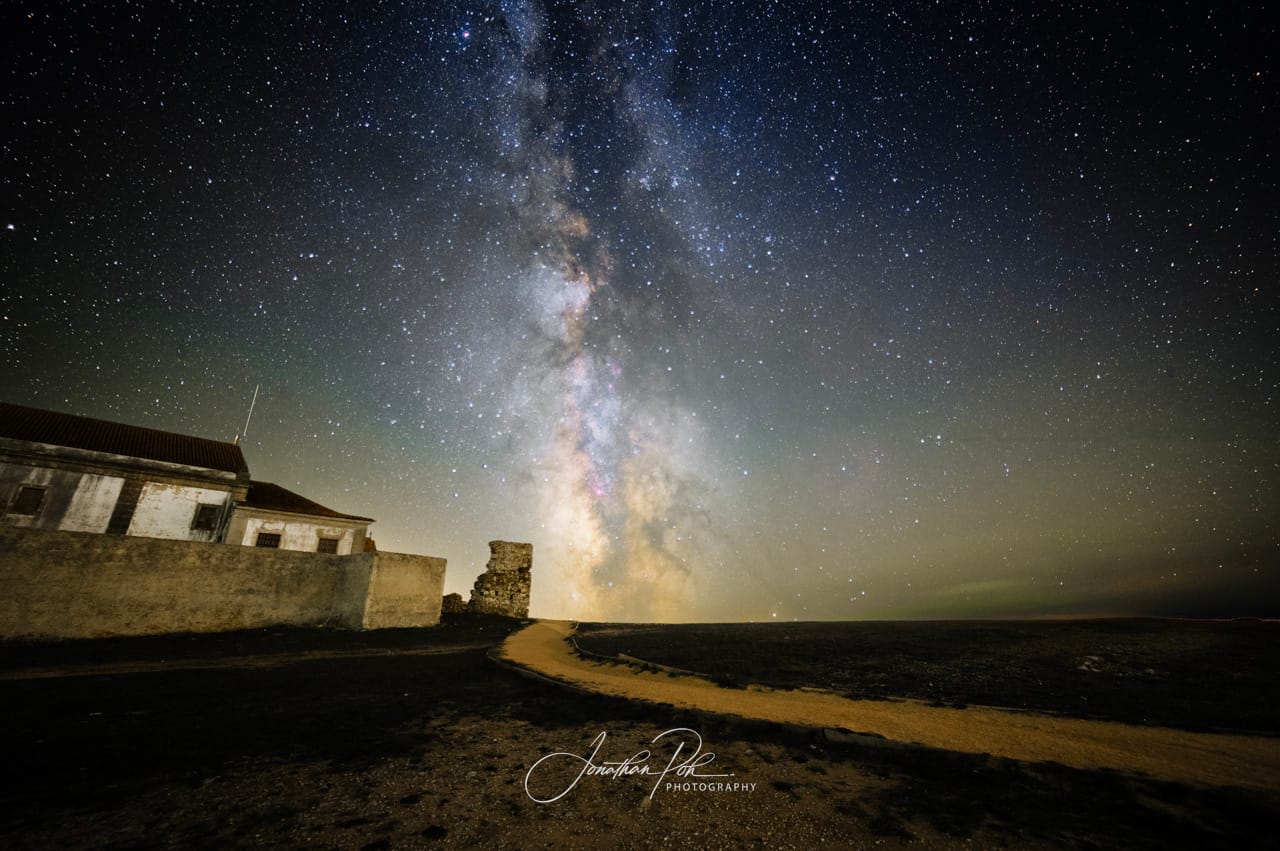
A photo of the Milky Way on its own gets boring fast. Look for a foreground that gives the frame some weight, or sense of scale of the cosmos, e.g. a rock formation, a lone tree, an abandoned building, or even yourself standing in the scene.
Be aware that the sky and a close foreground subject often won't be sharp at the same focus, or want the same exposure. It's normal to shoot them as separate frames, with different focus and different settings, and blend them later. Check your focus every time. It's the mistake that ruins more night shots than anything else.
Then shoot the sky a few times in a row — three to ten frames of the same composition. Try to take these as quickly as possible with minimal time in between, as the sky is always moving and it will make alignment and stacking easier later on. Stacking those frames later averages out the noise and gives you a dramatically cleaner result than any single exposure.
A quick word on editing
Editing is where a flat, noisy RAW comes to life as the image you were imagining, and it's genuinely half the craft: stacking your frames in something like Sequator (for Windows) or Starry Landscape Stacker (for macOS), then finishing in Lightroom or Photoshop. It's a bit involved and too much to tack onto the end here, so I'll cover my full process in a separate post.
For now, the photography itself really does come down to this: a dark sky, a night when the core is up and the moon is gone, and the settings above. Find a clear night — the Calendar will tell you when — then get out there and let me know how you go. I'd love to see what you come back with.