Building a DIY Allsky Camera
For a while now I've been quietly building my own camera. Not a camera in the usual sense — this one is called an allsky camera, and instead of pointing it at a subject, it points straight up. A fisheye lens captures the entire sky in a single frame, horizon to horizon, taking a photo at regular intervals through the night.
The idea is that it will eventually live on my roof, keeping an eye on the sky for me. Partly that's practical — I can check the cloud cover and conditions before hauling out my main imaging rig — and partly it's just for the joy of it. Left running through the night, an allsky camera can catch meteors and satellites streaking overhead, and the stacked frames make for some lovely star trails and timelapses of the sky wheeling around. I think of it as a little companion to my main astrophotography setup.
The bits and pieces
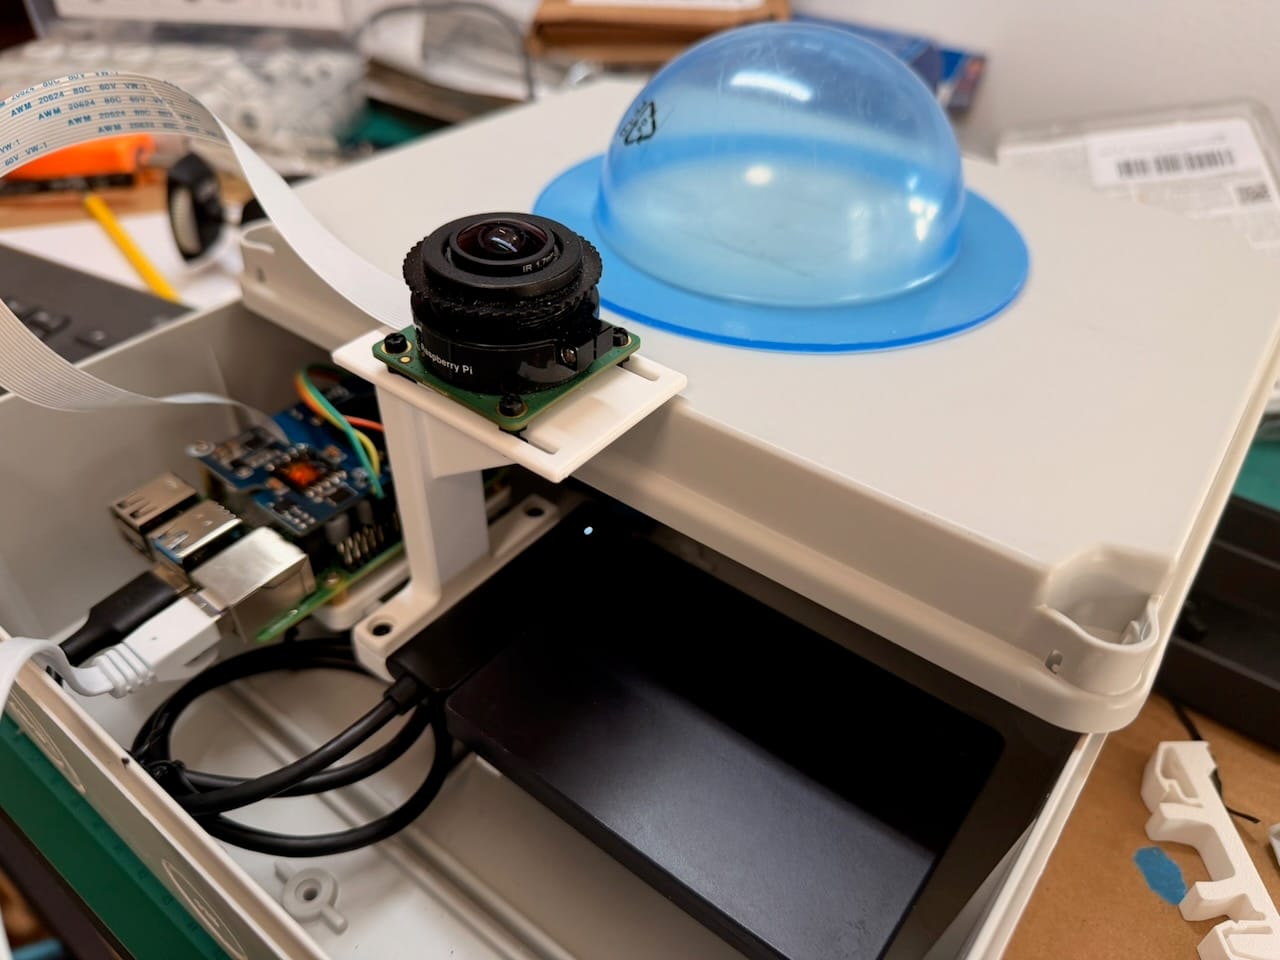
At its heart is a Raspberry Pi 4 — a small, cheap single-board computer — paired with the Raspberry Pi HQ Camera module and a fisheye lens. I use ‘indi-allsky’, a piece of open-source software that runs on the Pi to control the camera and capture frames on a schedule. That part is fairly well-trodden ground in the allsky community; plenty of people have built similar rigs.
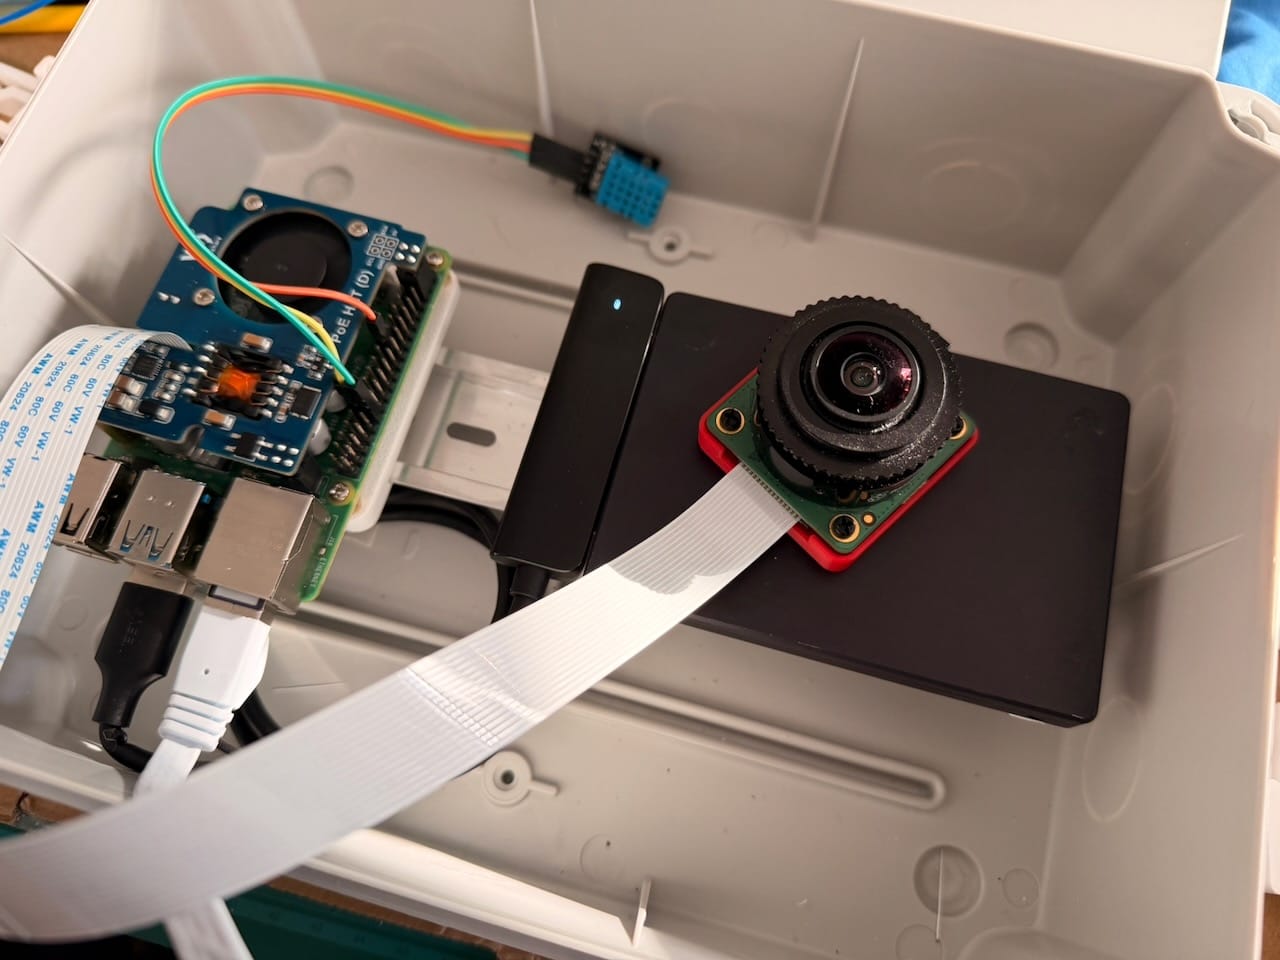
Tucked in alongside the Pi is a small temperature and humidity sensor, so I can keep an eye on conditions inside the sealed box. Dew or condensation forming on the inside of the dome would put an end to a night's imaging pretty quickly. I started with a cheap DHT11 sensor, but have since swapped it for an SHT31, which is far more accurate.
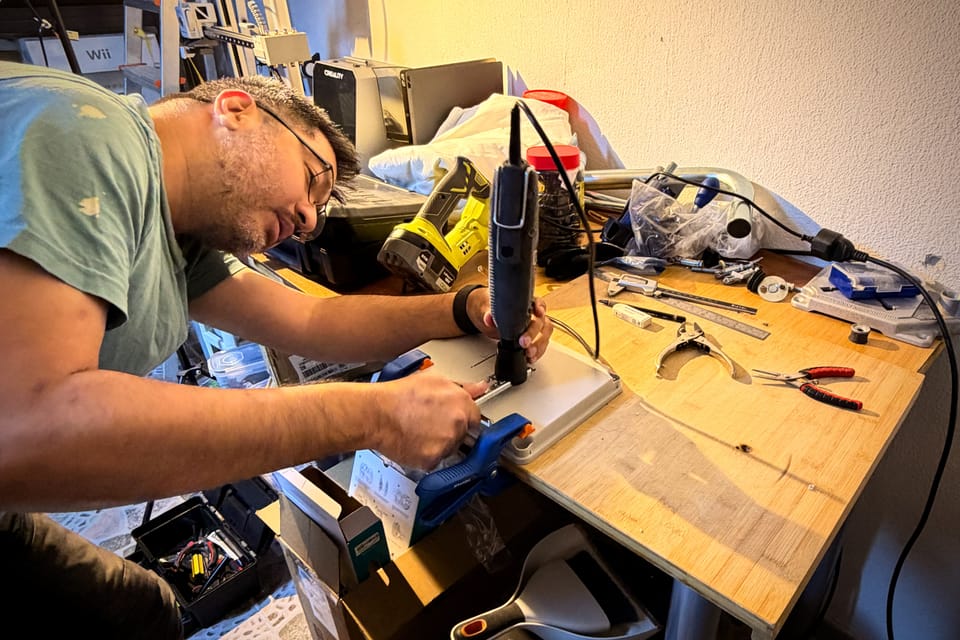
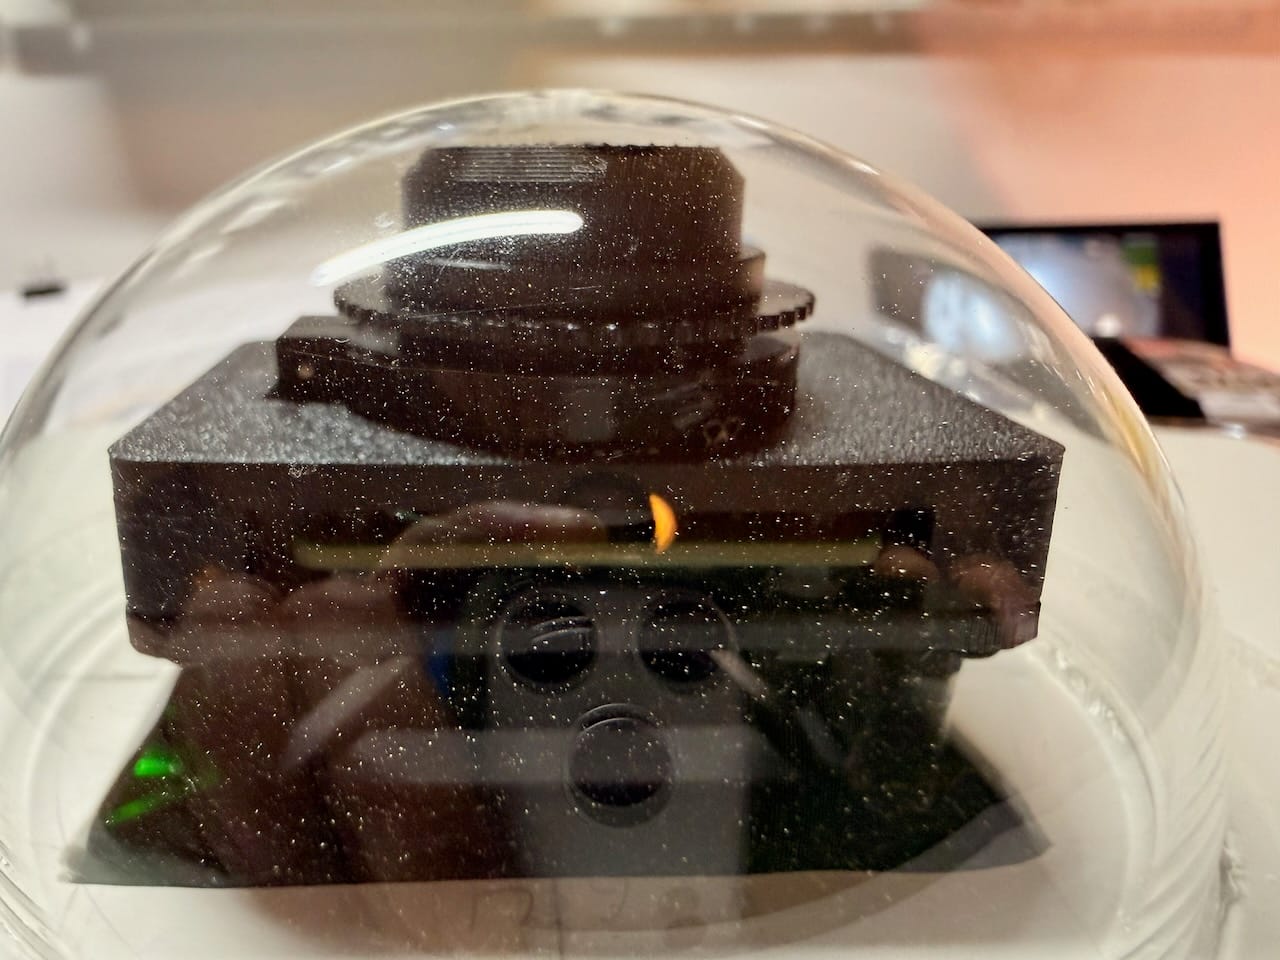
The fun (and the fiddly bit) has been the physical build. The whole thing needs to survive on a roof through Portuguese summers and winters, so the electronics go inside a weatherproof electrical junction box, with a clear acrylic dome on top for the camera to see through. Simple enough in theory. In practice it's been a lot of small problems to solve.
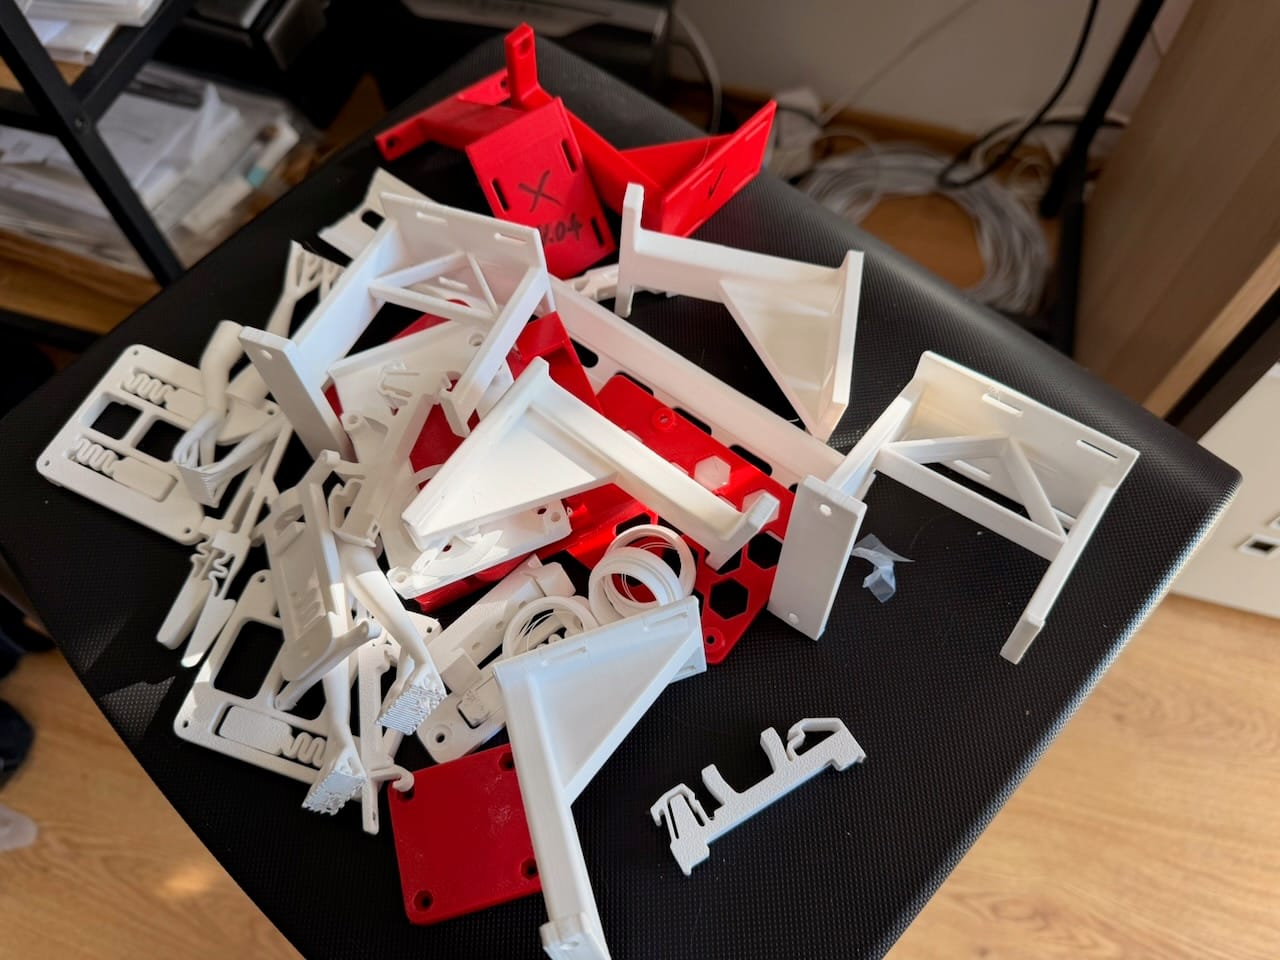
I've 3D printed a set of mounts to hold the Raspberry Pi and an SSD neatly onto a DIN rail inside the box, and designed my own platform to raise the camera sensor high enough to sit properly inside the dome - if it sits too low, the dome itself creeps into the edges of that wide fisheye view. That platform took quite a few iterations to get right, and was my first real project learning Autodesk Fusion.
There's something satisfying about printing a part, holding it up against the real thing, finding what's wrong, and tweaking the model, even if “a few iterations” is doing some heavy lifting in that sentence.
Getting close
The enclosure still isn't finished, there's still cable management, weatherproofing and the actual roof mounting left to sort out, but it's getting close. Close enough that I wanted to start writing it down before the whole thing becomes one of those projects I never document.
Next up: getting it outside for the first time, and the very first problem that showed up the moment it was looking at a real sky full of streetlights. More on that soon.
If you're building something similar, or just curious about it, I'd love to hear from you. Drop me a message.